Installation & Power
Mounting a Wall EV Charger: Brick, Block, Concrete, Plasterboard and Posts
How to fix a wall-mounted EV charger on brick, block, concrete, plasterboard, cladding or a post: fixings, height, cable entry and common mistakes.
- Prepared by
- VULTAE Engineering Team
- Published
- Reading time
- 2 min
- Sources
- —
Key takeaways
- 1The wall decides the fixing. Solid brick and concrete take expansion or screw anchors; hollow block needs chemical or through-bolt fixings; plasterboard, timber cladding and thin panels need a backing board or a post.
- 2Mount at a height that is comfortable for the cable and the user, keep the clearances in the manual and check the plate is level before you drill the second hole. Seal cable entries so water cannot run into the unit.
- 3A heavy charger, a pulled cable and weather all load the fixings. Use the fixings the manual lists or equivalents with a margin, and do not rely on plastic wall plugs in weak materials.
Contents
Short answer: pick the fixing for the wall material, use a level backing plate, keep clearances and cable-entry sealing per the manual and use a post when the wall is weak.
Fixings by wall type
| Wall | Suitable fixing | Notes |
|---|---|---|
| Solid brick or concrete | Screw anchors or expansion anchors | Check depth and edge distance; avoid mortar joints |
| Hollow block or hollow brick | Chemical anchor with sleeve or through-bolt | Plastic plugs can pull out |
| Aerated block | Special anchors for the material | Load capacity is low |
| Stone or render over masonry | Fix through the render into the base | Mind uneven surfaces |
| Plasterboard on studs | Backing board fixed to studs or masonry | Never rely on the plasterboard |
| Timber cladding or panels | Fix to the structure behind, with a spacer | Allow for ventilation and sealing |
| Metal sheet or container wall | Through-bolts with backing | Mind corrosion and earthing |
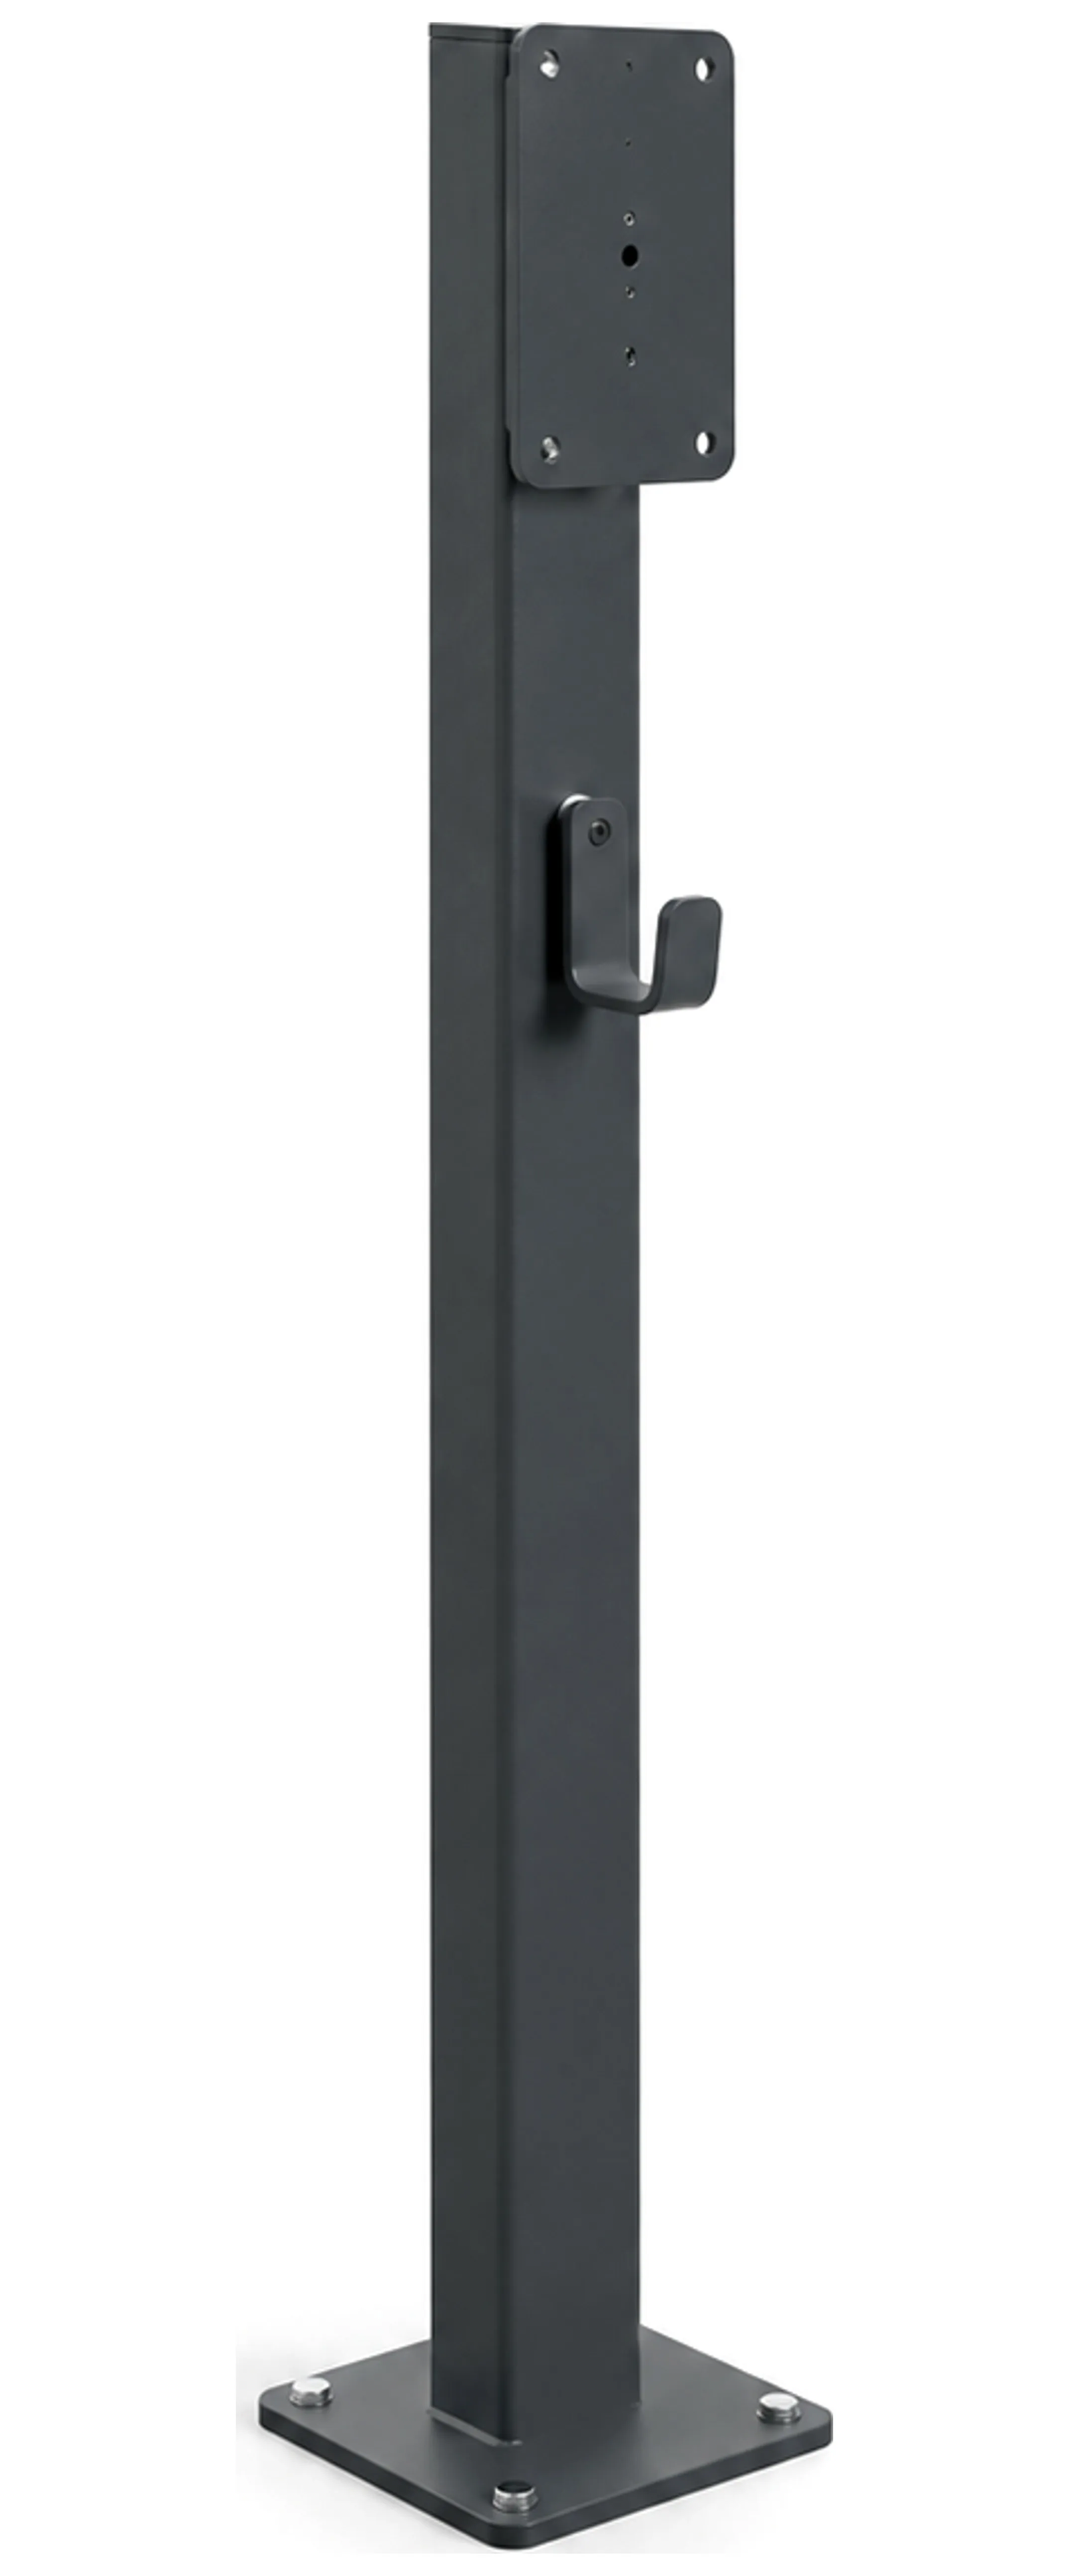
When in doubt, use a freestanding post or pedestal; see wall-mounted vs pedestal vs floor-standing.
Position and height
- Cable reach: the cable should reach the charging socket of the usual car with some slack, without lying on the ground; see cable length 5 m or 7 m.
- Height: within reach for adults and for drivers with limited reach; see accessible bays.
- Clearance: space around vents and for opening the cover, as shown in the manual.
- Protection: use a bollard or kerb where vehicles could hit it; see bay layout and bollards.
- Sun and rain: a shaded position helps; see operating temperature range.
Step by step
| Step | Check |
|---|---|
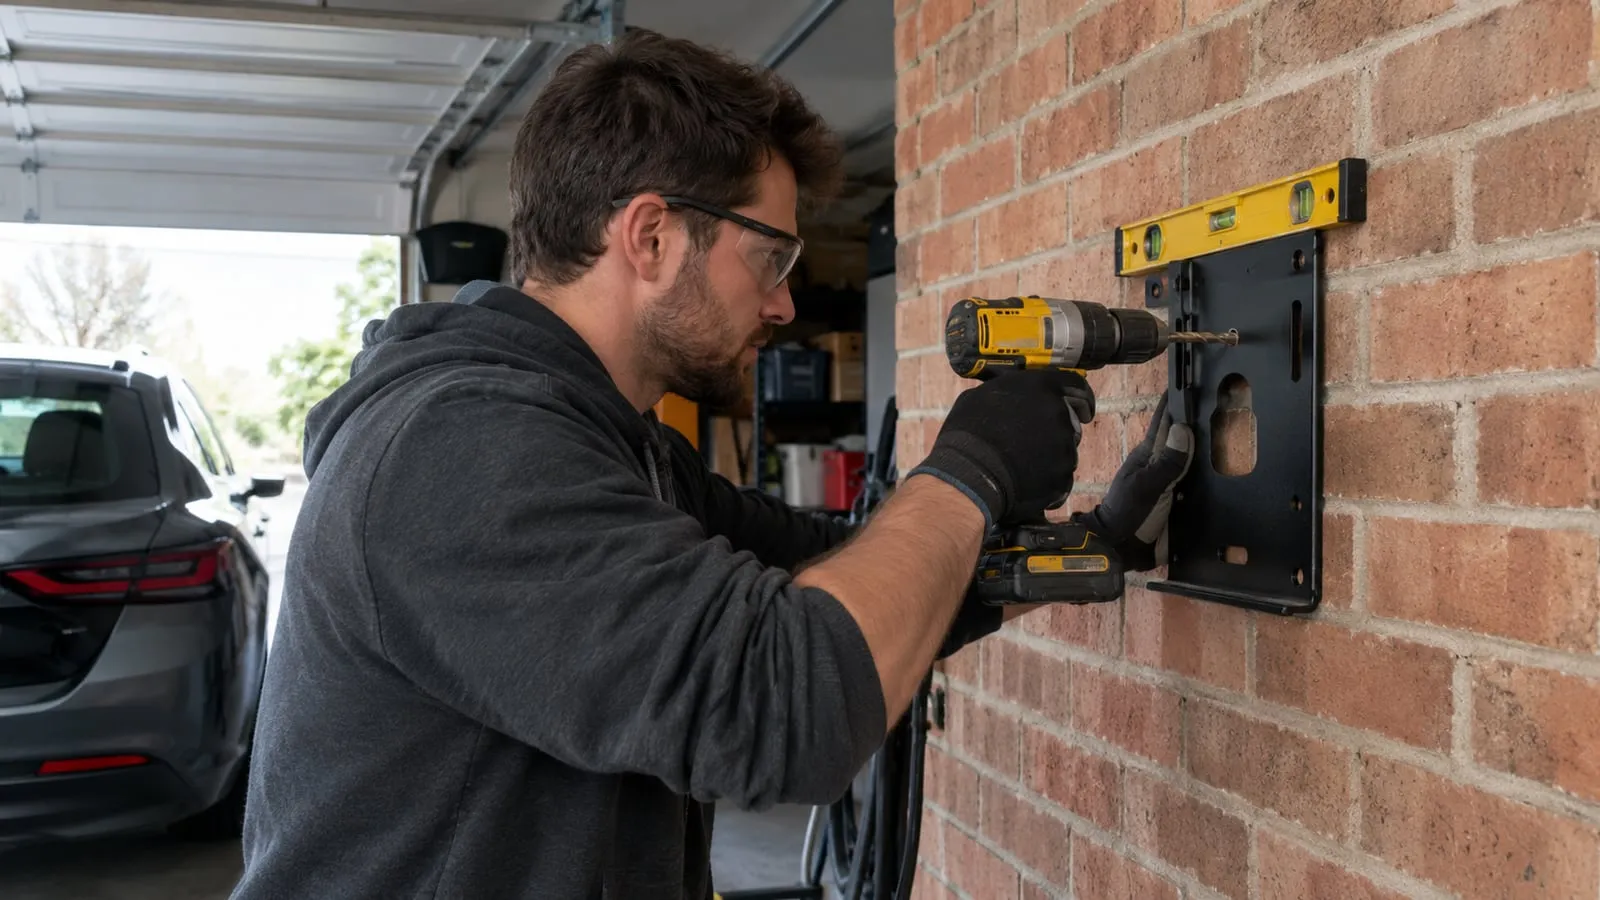
| 1. Mark the position | Use the template or the plate, spirit level on |
| 2. Check behind the wall | No hidden cables or pipes; use a detector |
| 3. Drill and fix | Depth, anchor size and torque as specified |
| 4. Mount the unit | Plate level, unit seated, locked |
| 5. Route the cable | Cable entry sealed; drip loop for outdoor cables |
| 6. Test | Power on, RCD test, charge test; see commissioning checklist |
Cable entry and weather
- Enter from the bottom or the side the manual allows, never from the top without protection.
- Use the cable glands supplied and keep their rating; see IP and IK ratings.
- Make a drip loop so water runs away from the entry.
- Seal holes in the wall for surface-mounted conduit.
Common mistakes
- Fixings too short or in a mortar joint.
- Plate not level, so the unit does not seat.
- Cable pulled sideways, loading the gland.
- No backing in plasterboard or cladding.
- Heat from direct sun with no ventilation space.
VULTAE can supply stands and mounts for sites without a suitable wall; send photos of the wall and the bay for advice. See also installation requirements.
Questions buyers ask
- What height should a wall charger be mounted at?
- Follow the manual and local rules. A common range puts the unit and its socket or cable holder at a comfortable reach above the ground, with accessible charging in mind. Check accessibility rules for public sites.
- Can I mount a charger on plasterboard?
- Not directly. Fix to a solid backing such as a plywood board secured to studs or to masonry behind, or use a post. The board must carry the weight and the pull from the cable.
- Do I need a stand instead of the wall?
- A post or pedestal is the answer when there is no suitable wall, when the wall is too far from the bay or when the surface is weak. See the stands and mounts range.